Persistence Pays Off: Building your Program on a Limited Budget
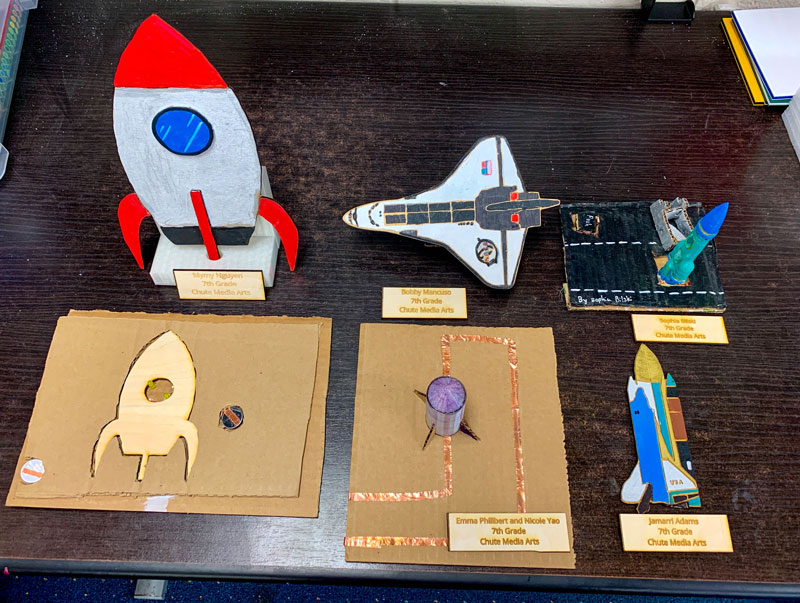
When I started teaching at Chute Middle School over 12 years ago, I had a lab of 22 computers, a Promethean Board and a laptop. I taught digital media, which consisted of photography, editing, animation, and video. I never imagined that ten years later, I’d have a new classroom with 30 computers, multiple 3D printers and vinyl cutters, three heat presses, a Carvey, a laser cutter, and a poster printer!
Many teachers ask, “how did you purchase these machines and equipment at a Title I school with a budget that was cut multiple times over the years?” The short answer is: a lot of grant writing, student-led fundraisers, persistence, and community partnerships. But the other important thing is that so many times I was told no, but what I finally learned is that the answer is only no… until it is yes. Setting a vision of what you want and seeking out multiple ways to achieve your goals can make anything possible – you just have to keep trying and not let all those “nos” discourage you from seeking what is best for your students.
Entrepreneurship, Fundraising, and Building a Name for your Program
Our first fundraising efforts started out with an idea from an 8th grade student, Wayne, back in 2013. Wayne was a savvy designer who introduced our Advanced Media class to many new Photoshop techniques he learned by watching YouTube tutorials. He played on the basketball team, and one day he approached me with an idea. “Hey, Mrs. Kushner. Do you think we could design warmups for the Chute Basketball team?”
At the time, I had just heard about the Silhouette Cameo – a new vinyl cutter used for crafting and fabrication. Drawing on my background teaching visual arts prior to media arts, I thought about ways to bring Wayne’s design to life on shirts. I remembered my own middle school experience of silkscreening shirts for our school musical and the excitement and pride these shirts brought to me and my classmates. We agreed that this would be a great place to start. We bought a silkscreen, some fabric paint, masking film, and purchased a Silhouette Cameo. My deal with the students was that if we sold the long-sleeve t-shirts, we could set the price higher than the cost of the shirts and ink and make enough profit to pay for the vinyl cutter. Cutting the masks with the vinyl cutter was much more precise than cutting it by hand like traditional silkscreening. We also used the vinyl cutter to cut students’ names out of freezer paper for the backs of the shirts, which we were able to iron on the backs of shirts as masks, then hand paint players’ names on them with fabric ink.
During the next month, students came in around the clock to work on the shirts. I had students coming in during lunch, before and after school, and even my regular classes would help out with peeling the names or ironing. We’d have whole tables of students ironing together, and students in 6th and 7th grade also got excited about this project and volunteered to help. Soon we expanded our offerings to full color prints on heat transfer paper on which we printed our school musical’s color logo (designed by students). We sold t-shirts for the cast of about 200, including specialized shirts for the stage crew and pit orchestra. The profits from the shirts paid for the inkjet printer we needed to print the heat transfer color images, and we were also able to raise enough to purchase an extra laptop to use exclusively with the vinyl cutter so students could have a vinyl cutting work station.
The following year, students had the idea to silkscreen sweatpants. Our clothing line and profits were expanding. Now the volleyball and soccer teams wanted custom apparel, too. After school clubs and activities started asking for merch. For the 50th anniversary of our school, our arts team had the idea that we’d have a tie-dye day where every student and staff member would tie-dye a shirt, then we would silkscreen our student-designed 50th anniversary logo on all 750 shirts. We enlisted the help of parents and students and silk screened all of the shirts in the span of three days. Parents took bags of shirts home to iron and heat set with their kids. To this day, there are still staff members and students who are graduating high school this year walking around town in those limited edition tees.
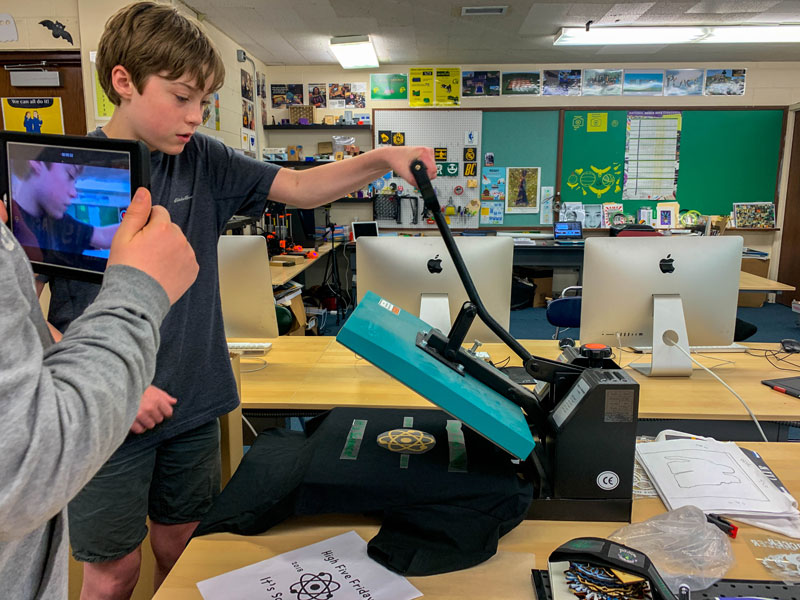
We started small, but the learning was immense. Students realized that they could turn their entrepreneurial wishes into reality. We tested out different types of ink, different processes, different materials, and stretched our comfort zone in order to see what was possible. In the process, we built support from administrators, buy-in from teachers in the building, and recognition from the community. We had our district STEM director approach us to design and create shirts for our feeder school STEM event. Students started asking to design other types of clothing – hoodies, winter hats, even custom socks. I learned about heat transfer vinyl, was able to use proceeds from our apparel sales to buy a small heat press and pack of heat transfer vinyl, and this completely revolutionized our shirt creation process. Students loved it so much that we brought it into our 8th grade design curriculum, and allowed 8th graders to create custom headbands, t-shirts, and hoodies.
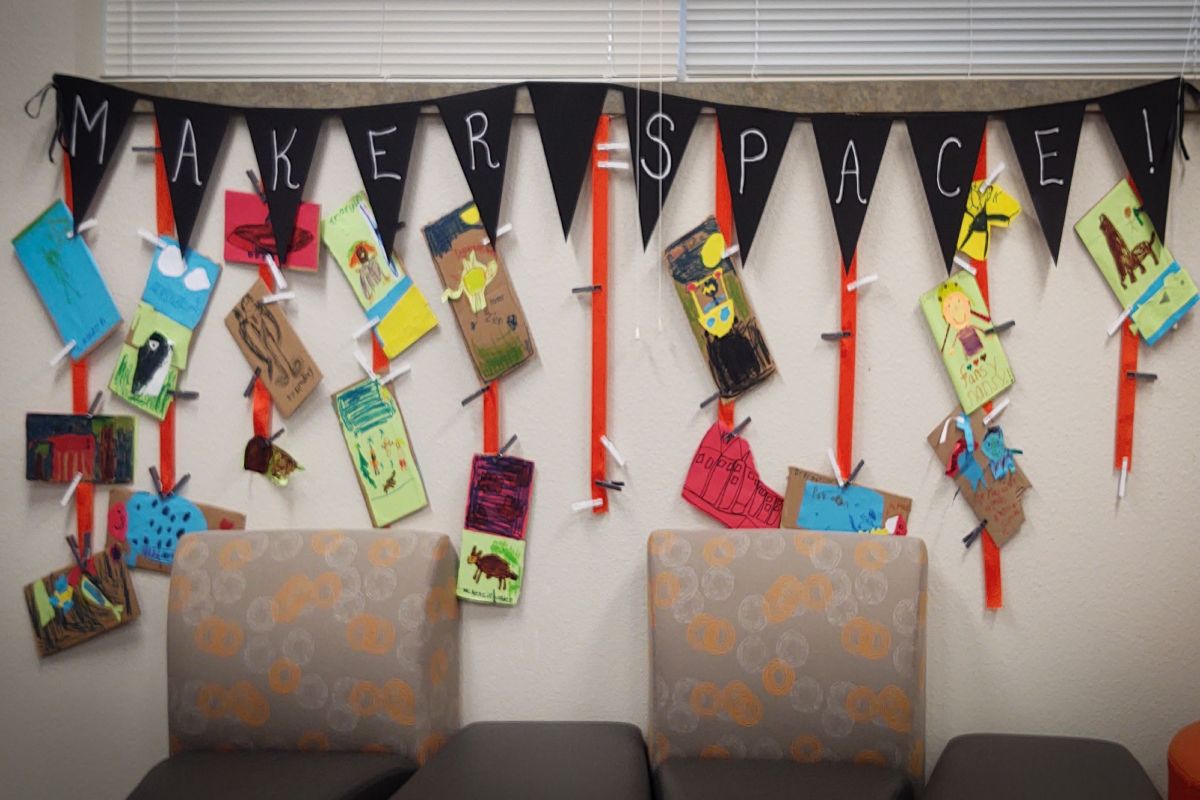
I facilitated a workshop for the art and media teachers in my district to share our processes and showcase this shirtmaking craze that had engaged my students in learning design and entrepreneurship with such enthusiasm. Other teachers in my district started purchasing vinyl cutters and heat presses, and now the other middle schools in my district are also including this as part of their design unit for 8th graders. One of our science teachers had the idea to create shirts with his 7th grade classes celebrating a tradition he calls “high-five Friday” where he gives students high fives on Friday, since research shows that having that physical contact increases camaraderie, performance, and feelings of comfort, positivity, and belonging (Grossfeld, 2015; Riddington, n.d.). Since his students don’t have access to my lab, I introduced them to the free mobile app Adobe Spark Post, which allows students to design their logo in minutes using the app’s icons and fonts. We were able to team up so that students could each press their own shirts during my planning time. As the excitement over this process builds, more and more teachers have expressed interest in learning how to use these machines, and we have even purchased some for our library makerspace through a grant to expand access to students and teachers.
Creative Problem Solving and Making it Work When it Doesn’t Seem Possible
When our city’s public library purchased a 3D printer, I was excited by the possibilities for my students to explore 3D fabrication. Thinking I could never afford one for my school, I collaborated with my counterpart at another middle school in my district and the head of our teen space at the public library. We wrote to our district foundation for a grant to partner with the library on a 3D printing class. The grant paid for stipends to teach the class, plus planning time to write curriculum for this new technology so we could consider how to bring it into our schools. As part of the grant, students would learn about 3D design in Tinkercad (web-based 3D modeling software), get to 3D print their design at the library, then take a field trip to the local 3D printing store. Our amazing public library staff introduced us to a method of scanning students using the XBox Kinect (a device that connects to an Xbox that responds to one’s movement), where we could download free software and create a 3D scan of students, then print them on the Makerbot. The kids loved the class, and it was a way for my colleague and me to learn more about 3D design by trying it ourselves, and pilot how we would teach 3D design, Tinkercad, and 3D printing with students.
That same summer of 2014, I was in Atlanta for an ISTE (International Society for Technology Educators) Conference. As I walked past a museum near my hotel on my way to the conference, I noticed they were running a class on creating architecture in Minecraft and 3D printing. They had three 3D printers running in the lobby classroom space, surrounded by large shelves of 3D printed items. At the time, my students had been working in Minecraft as part of their passion projects. As I picked up the various samples on the museum shelves and watched the 3D printers in action creating miniature versions of the buildings that students were designing before my eyes, I knew I had to have one of these machines for my classroom.
I found out soon after returning home that a parent had approached our school librarian about donating money to pay for Minecraft so their child could bring his interest to school. While the librarian was not in a position to support Minecraft since she supervised mobile laptops on checkout carts, my classroom was ideal because we could download one license per desktop. I looked into the cost of Minecraft licenses for my lab, and the cost was significantly less than the amount of the donation. I began to brainstorm how I could combine the Minecraft software with 3D printing like I saw at the museum, and use part of the funding to buy our school a 3D printer. I ran it by the family and they were delighted with the idea. Our first Makerbot arrived shortly after the school year started.
Some would say that these were a series of coincidental events that led to our purchase of the 3D printer. I think that without the vision from seeing Minecraft paired with 3D printing in Atlanta, and the confidence I gained from piloting Tinkercad and 3D printing with our public library, I never would have come to purchase it. So much of building a program rests on seeking out innovation, building a vision, finding community partners and resources to collaborate with and learn from, and then finding ways to get your parents, community, and school administrators to help support your vision. As you become an expert with your innovations, it is always a good idea to share them with others. It is helpful to take something you are excited about and spread your knowledge to benefit others, but this is also a way to build up your reputation and that of your program within your district and community. In my district, it took a few more years for 3D printing to catch on, but once it did, everyone came to me to talk about what we learned through our 3D printing journey, and how they could learn from us.
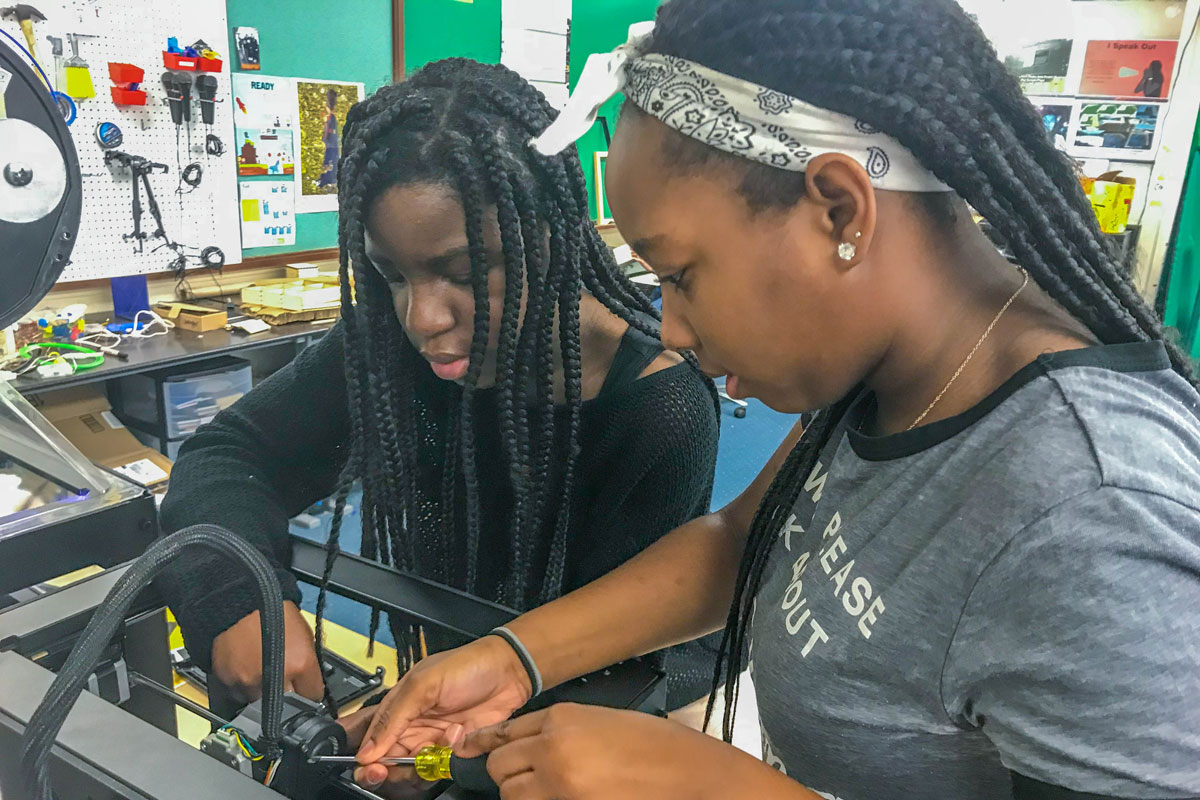
As I incorporated 3D printing into my classroom, my students and I were unprepared for how quickly the filament would get stuck and clogged. Having never learned about its internal functionality, I reached out to Makerbot support to learn how to disassemble the 3D printer’s extruder. The first time I took apart the machine with student help, I was terrified of breaking it. After we did it the first time, we gained more confidence and felt more comfortable taking it apart. We realized that this would be a regular part of the learning and maintenance of the machine. I loved taking apart pieces of the 3D printer alongside my students because it modeled for them that you often have to take risks and you don’t know all the answers.
As students’ interests and build times began exceeding our single printer’s capabilities, I soon realized that we needed another 3D printer to keep up with demand. I looked on Donors Choose, and noticed that they were matching funding for STEM-related projects which would cut the cost of the 3D printer in half. I felt awkward asking people for donations in my network, so I put the project out there to see if we would get any donations just from the site. With only a week left, our project had only received a few hundred dollars. We were not going to make our goal. I hated to waste this opportunity, so I pulled profits from our recent shirt sales and paid off the rest of the project using the shirt money. Our second 3D printer was shipped by the following spring.
The excitement of 3D printing was growing with my students. My colleague and I applied again for our Foundation grant to fund summer classes, this time partnering with the new YMCA Makerspace that had recently opened in our area. We received the grant and planned two week-long summer workshops. The summer before we learned that it would have been helpful to offer our class twice, as the second week would let us improve any issues that arose in the first week, so our pilot would be more developed before we took it into the curriculum.
By that time, my colleague had also found a way to purchase an Ultimaker for her classroom. We brought our printers to the new Makerspace, which sported the newest Makerbot which we were eager to try. We realized that printing in 3D takes a lot of print time, so instead we built the class around students printing flat objects from their drawings, then using them to tell stories through stop motion animation. At the time Makerbot had an iPad app where you could take a picture of your Sharpie drawing and create an .stl file to send to your 3D printing library to convert the file. Although students were designing in 2D, they were able to create many more objects and story characters. Rather than just designing 3D objects and printing, there was a bigger goal of building a story, creating 3D printed characters, and using stop motion to bring them to life and have them interact.
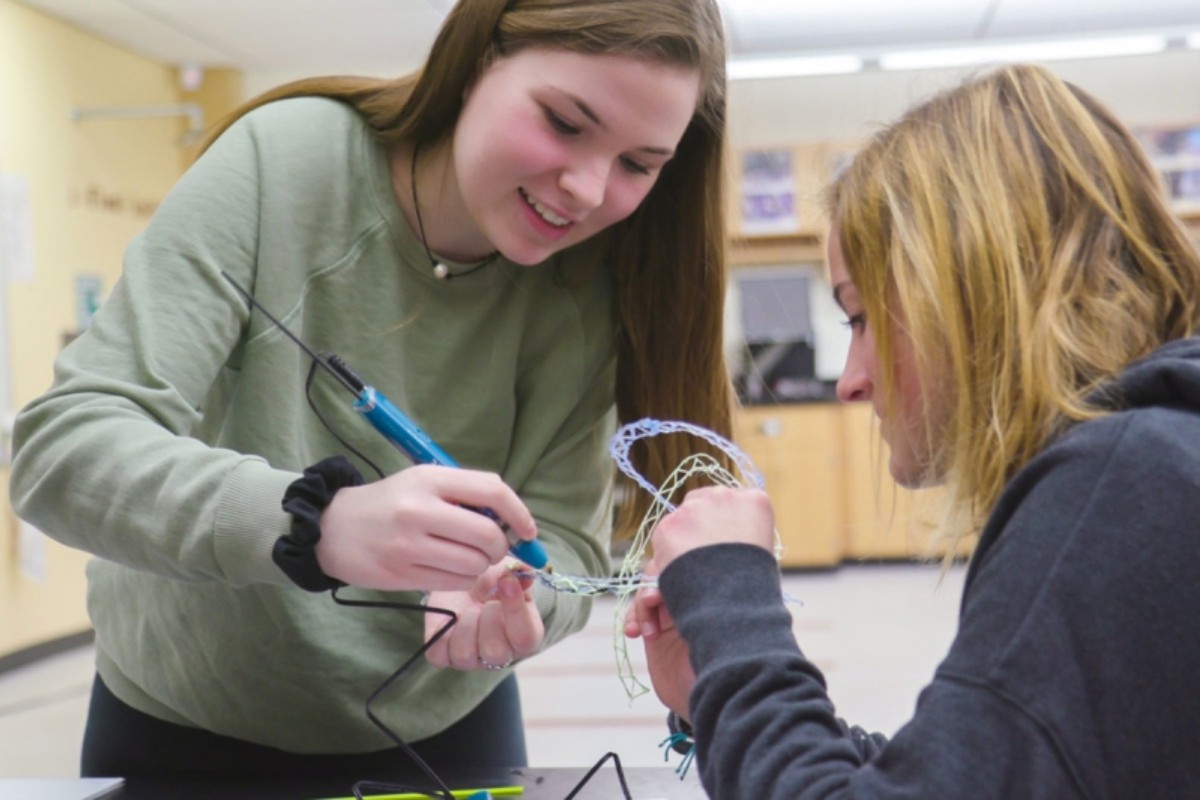
As students grew interested in bringing their designs to life off the screen, we noticed how having the 3D printer transformed learning in our classrooms. There was the thrill of watching your item print. Students would sit and watch the machine, asking questions about how it worked, taking time-lapse videos of their projects printing, and looking up ideas from other 3D artists on sites like Thingiverse to get ideas for new creations. Some students seemed to thrive at fixing the machine and were the first ones to volunteer to tinker when a nozzle got clogged. They loved using tools to pick off all the supports and carve pieces off to get to the finished product. The whole process was so good for our tactile, kinesthetic learners, similar to the experience we now create for students who enjoy picking off the extra vinyl from heat transfer vinyl designs cut on the vinyl cutter.
Because 3D printing was so time consuming, we were looking for more ways to engage our tactile learners. We looked into what other machines students could use to bring their designs to life and found the CNC Router by Inventables called the Carvey. Just as we wrote a grant to purchase one of these machines and pilot it the following summer, our YMCA Makerspace also purchased one. Since we had created a relationship with them the previous summer during our class, we were able to learn from each other and think about how to develop projects using the machine in our respective spaces.
That following summer, I brought what I had learned about the Carvey to an Adobe Education Leader summit in San Jose. My fellow thought leaders from around the world learned the wonders of carving two tone plastic to bring their designs to life. Looking for partners in the area, I got in touch with the MakerEd organization, who graciously lent us their Carvey for the duration of the summit. After that workshop, many of my colleagues from schools all over the world purchased Carveys for their high school and college classrooms. As we all played with carving different materials, we now had a network of teachers all experimenting with the same machine in different ways. One teacher from Seattle made intricate acrylic ornaments and played with different wood finishes for his woodcut projects. Seeing his students’ work made me reflect on how we were using the machine, and what other ways we could expand materials and projects.
At the time, our school was getting ready for the 50th anniversary celebration that I mentioned earlier. Since I sponsor the yearbook, we had the idea to scan yearbooks from the past 50 years and print 10 pages for each year which we would hang in a display around our entire building for the week of the celebration. To highlight each decade, we decided to cut large numbers on the Carvey, wrap fairy lights around them, and hang them to illuminate the photo walls for each decade. We tested different materials and realized that PVC would be best because it was thin and lightweight. Students loved using the Carvey, and it opened up new exploration for us with various plastics and wood.
Around this time my district art department visited our local arts center for a tour. I had never been in their new building before, but I was blown away by their small digital media lab which housed a huge laser cutter. The person who conducted our tour showed us a project that one of the adult students was working on, using the laser cutter to score vellum and fold it into intricate patterns. I had seen laser cutting demos at various conferences, but now I found we had one in our own community. I contacted the art center shortly after, inquiring if they’d like to partner with me to offer free summer classes for our district’s middle schoolers, funded by our Foundation grant. They agreed, so I submitted the application and was soon funded and paired with an industrial designer who had just started teaching at the art center and specialized in 3D printing and laser cutting. He was also the President of a large hackerspace in Downtown Chicago.
What was fascinating to me about this collaboration was that I had explored 3D printing locally, but had never met an artist who actually worked with the medium for their profession. As I was just beginning to work with wood using the Carvey, he introduced me to a whole new way of working with wood and acrylic using the laser cutter that was faster and allowed for quicker iterations of ideas. As we played with the laser in that first summer class, I learned along with the students how to use Adobe Illustrator to prepare files for laser cutting and engraving. We loved the quick pace of the laser cutter compared with the very slow pace of the 3D printer.
The following summer, I pitched another summer class with the art center to our Foundation but did not get funded. The director told me I needed to seek out collaborators in my community and build something bigger. How could we increase making as a community? How could we expand spaces for students to create and have representations from teachers in all areas of STEAM come together for a greater partnership? I felt deflated. I had already partnered with all the providers of maker experiences in the community that I knew. Hadn’t I formed a great alliance with our local library in that first year that turned into regular invitations to display artwork and collaborate on lessons with STEAM kits including Makey Makeys and LittleBits? Hadn’t I partnered with our local YMCA Makerspace and worked closely with their staff two summers in a row to bring maker experiences to students in the summer while having regular discussions about making, equipment, and projects we were doing with our shared students? Hadn’t I reached out to our local art center, made a connection with their director and a local artist, and brought free classes to our students while exposing them to new technologies such as the laser cutter?
Instead of letting my frustration deter me from moving forward, I took the Foundation director’s advice and reached out to our district’s STEM consultant, who agreed to fund two weeks of summer classes that I would teach myself in my own classroom primarily for students underrepresented in STEM fields. The goal of the class was to pilot new materials and projects with the Carvey and 3D printer, including cutting and assembling project pieces made out of MDF, spray painting, hydro-painting and marbling, and creating custom fidget spinners (which were all the rage at the time). I also made arrangements with the local art center to do another summer of laser cutting classes, since they were so popular. As the program was not funded, I was able to arrange a heavily discounted rate for students that was much cheaper than enrolling in a full class at the art center, but paid for our teacher salaries and materials.
During this second summer at the art center, we focused exclusively on the laser cutter using acrylic and wood. We explored 2D and 3D forms, having students move from creating etched designs to creating pieces that they could put together to construct 3D items. I learned that a public library about 20 minutes north of my school had a laser cutter in their library makerspace that anyone could just drop in and use. I took a class there to learn their machine, as it was different from the one at the art center, and continued trying out fidget spinner designs.
Setting your Vision – The Answer is Always Yes
Around this time, our district STEM consultant was working with two tech coaches who had just received grants from Digital Promise to create Makerspaces in my school and one of the magnet schools in our district. The tech coaches were crowdsourcing information from the makers in our education community about the essential methods, supplies, and machines they should consider when building their new makerspaces. Our STEM consultant organized a meeting with representatives from across different schools, community organizations, and our local university. Because of all the relationships I had formed in the past few years through my summer classes, I was asked to help lead this group. It was exciting to gather once a month to discuss ideas with others interested in making. One of the new people I met in this group was an engineering professor from a local university. He shared that he and his students were working on making Minecraft accessible to those with physical limitations, and that he had ordered some laser cutters that he was hoping to bring into the public schools. The timing could not have been more perfect! I shared about our experience at the art center the past two summers, and the pilots that we had already done with the laser cutter. He agreed to partner with us for the coming school year!
For the next two years, the professor and his students worked with me and my students to learn about laser cutting. We started out cutting out student names, engraving student drawings and images, making pieces that could bend, creating movable parts, and trying different kinds of joinery. We added lights, learning about different types of LEDs, circuits, conductive materials, and how we might use them to enhance our handmade picture frames, light boxes, or even illuminate etched acrylic. Having university students mentor my students a couple times each week was a great way to ease us into the learning when there were so many things we wanted to try. It was helpful for me to have collaborators when the machine wasn’t working properly, to celebrate overcoming obstacles, or achieving new successes. We experimented with having students solve authentic problems in their own lives using design thinking, working on theme-based projects, using wood in conjunction with the Makey Makey and conductive materials to create instruments with sound, and creating using a range of constraints and project guidelines.
I loved the way my classroom came alive with yet another hands on making opportunity. Like with the 3D printer and Carvey, students were enthralled by how the laser cutter worked and how quickly and precisely it could cut and engrave their designs. I noticed that when students were working on maker projects together at the table, a wonderful feeling of community developed. Students helped each other solve problems that they themselves had already encountered, and many of my students who were low performers in their other academic classes were leaders in the hands-on challenges. I learned that even with the simplest project, there was something satisfying for the students in working on hands on projects and thinking through materials like wood and glue, together around the table.
I was so overcome with emotion the first day that the laser cutter arrived, I took pictures of each step, from the delivery, to students unboxing it, to our first engraving. I recalled a conversation with my principal the day after I had seen the laser cutter at the art center only a few years before. I explained what it was and told him about all the possibilities I imagined for our kids if we had one. It would be amazing, but we could never afford it. He replied, “I’m sure you’ll find a way.” We laughed, and moved on, but I do think that at that moment I did start thinking about how we could realize this vision. Sometimes it seems that a goal is too lofty, or equipment is too out of reach, but time and time again it has been my experience that if you work hard enough to create the vision and imagine the possibilities, an opportunity to achieve your vision will present itself. Much like learning, you need to have a growth mindset (Dweck, 2008).
As I celebrated our new laser cuts and the projects that ensued, I created an Instagram handle @chutemedia to document our work. I have always been a big believer in the importance of the documenting process, and my students have always kept their own blogs to record and reflect on their learning as they go. I had always used Twitter as a professional tool to share ideas, get inspiration, and participate in conversations related to edtech and STEAM. However, I wanted a place where students could get involved to learn about the exciting things happening in my class, and also feel celebrated and recognized when their work was shared. When I polled my students, only a few were on Twitter, but many were on Instagram. As I posted our various projects and the things we learned, I used the #makered hashtag and Adobe’s #createedu hashtag to find other creatives engaged in the same kind of teaching as me. I started hashtagging the creators of the products I was using, like our laser cutter company Full Spectrum Laser. All of a sudden, I had a community of educators and companies that I was getting ideas from via Instagram feed daily, and I had teachers asking me questions about projects we were posting as well. Students loved the attention – it provided a great way beyond the classroom to recognize them and their work in front of their peers and on a bigger stage. Besides students, many parents, community organizations and businesses started following us on Instagram. It was awesome to feel connected to the community and for the students to be able to connect with each other, in a positive way, using social media.
Since then we have come up on many other instances of things that I envisioned, didn’t think were possible, then somehow the opportunity presented itself. I discussed the idea of getting a poster printer one year with my principal but there wasn’t budget money for it. Then the following year, we rebranded our school and all of the sudden we had to print posters and banners for the entire school. When he showed me a quote for how much it would be to print, I saw the opportunity and told him it would be much cheaper to buy the printer and do it in house.
My advice to teachers who feel stuck, when their administration keeps saying no, there isn’t enough money to realize your dream classroom, or get the latest technology, I say create the vision. Seek out innovation. Make community connections and spread your enthusiasm. Look for collaborators. You never know when an opportunity will present itself.
This article is available and can be accessed in Spanish here.
Dweck, Carol S. (2008) Mindset: The New Psychology Of Success. New York: Ballantine Books.
Grossfeld, S. (2015). Can high-fives and fist-bumps help teams win? Retrieved from https://www.bostonglobe.com/sports/2015/12/25/touch/gV6cYwKeIJSxBFdfUimB5N/story.html
Riddington, M. (n.d.). The Power of the High Five. Retrieved from http://makiperformance.com/power-high-five/